Four steps. One photograph.
No modelling, no measuring, no CAD. Most visualisers drop a catalogue product into a picture. SpaceReveal reads the actual room first, then designs it the way a person would — and writes down exactly what it decided and why. Every screen below follows one real photograph the whole way through.
Step 01
You upload the photograph
One photo per area, straight off a phone. Add as many areas of the same property as you like — kitchen, living room, facade, garage, patio — and each one gets its own concept, drawn from one shared direction.
JPEG · PNG · WebP · HEIC — uploads cost nothing
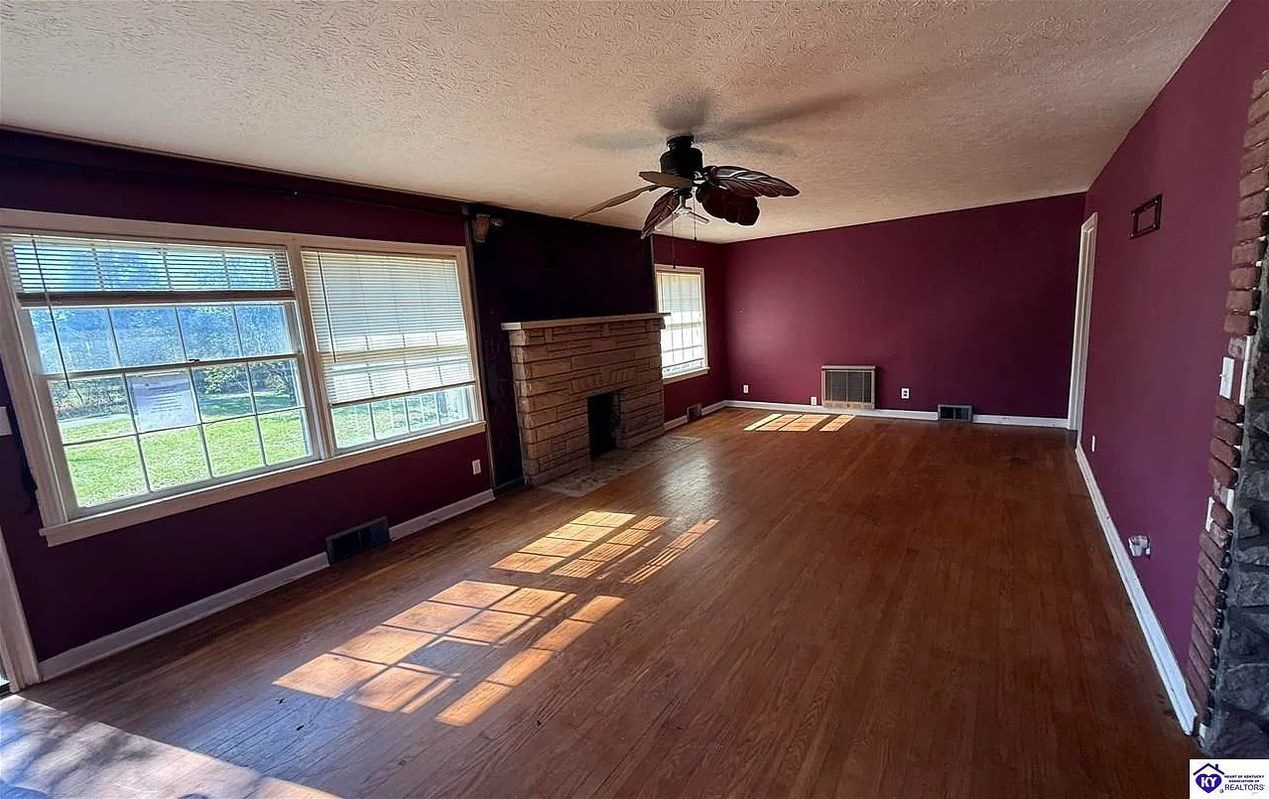
The photograph used throughout this walkthroughReal listing picture
Step 02 · It reads the space
Living room · 95% confidenceIt named this photograph a living room, interior, at 95% confidence, then wrote down four visible faults. Every fault is tied to something in your picture — nothing is assumed, and nothing is invented.
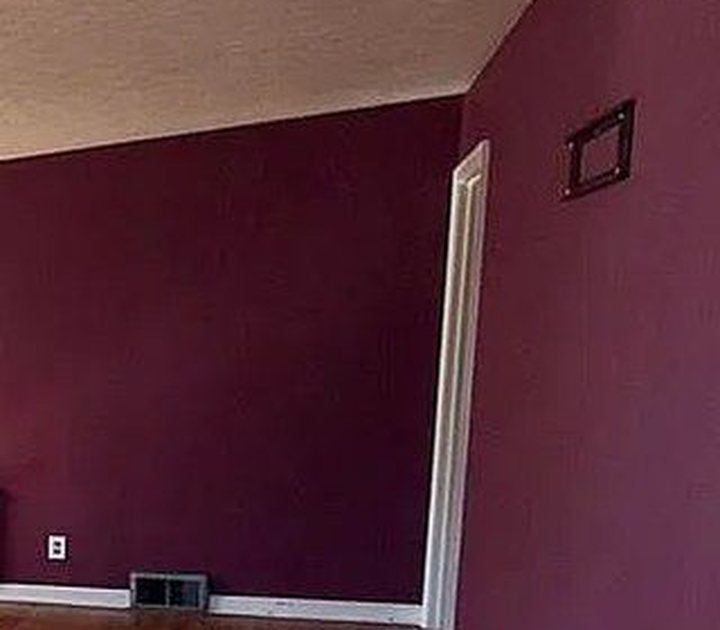
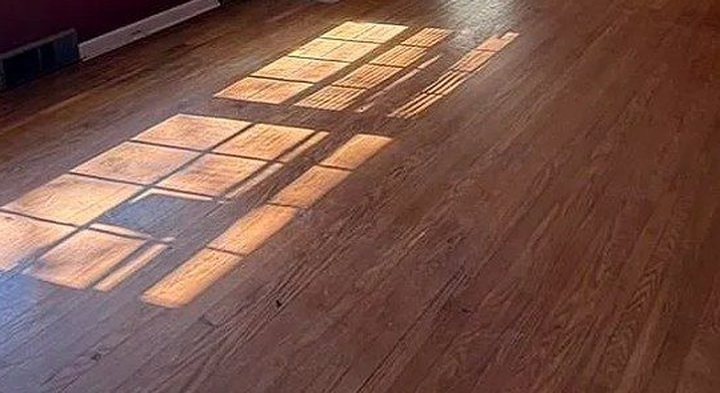
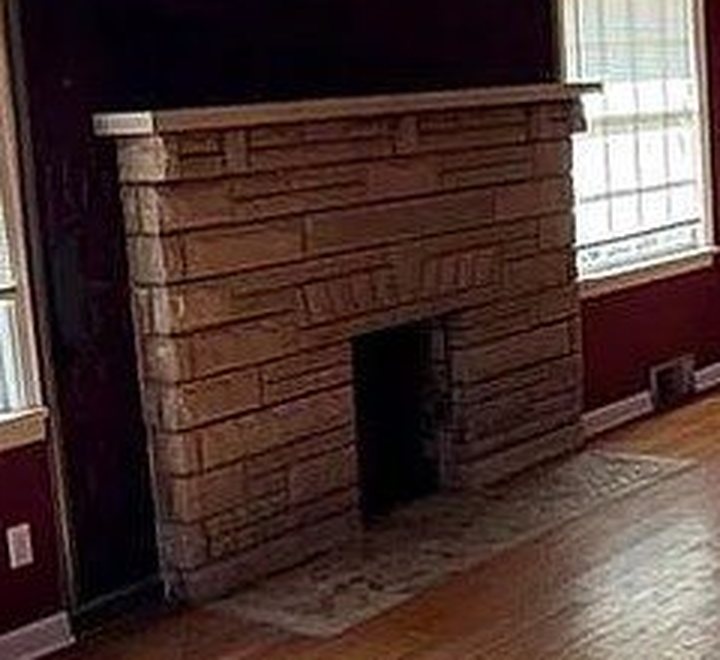
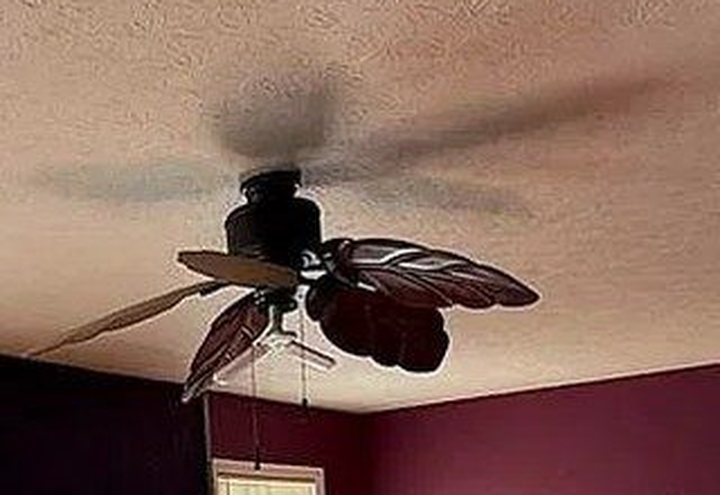
Crops from the uploaded photograph · the survey and the design plan cost no credits
Step 03 · It designs
Warm modern traditionalA written plan, not a filter. For this room it chose warm modern traditional, because the rough-cut stone fireplace, the wide multi-pane window wall and the honest oak strip floor are traditional bones worth keeping. Then it wrote the palette, the pieces and the finishes.
Palette — five colours, with the values it will paint to
Nine pieces were specified for this room. Three of them:
Three-seat sofa
Oatmeal linen, low arms, pale oak legs.
Against the long right-hand wall below the wall vent, facing the stone fireplace.
Gives the long empty room a main seating line and sets the scale of the sitting area.
Pair of armchairs
Deep olive wool upholstery, tapered walnut legs.
Angled either side of the fireplace hearth, backs toward the window wall.
Closes the seating group around the hearth so the fireplace reads as the focal point.
Pair of table lamps
Ceramic cream bases with ivory linen drum shades.
One on a side table at each end of the sofa against the right-hand wall.
Adds low warm light to a room lit only by one ceiling fixture and the windows.
The plan also lists the surface finishes, the five things to take out, and the nine things that must not move — including the camera position.
Step 04 · It paints the concept
Level: renovationFrom your camera position. Same window, same wall, same view — so what comes back is recognisably your property rather than a stock photograph of someone else's. Before and after arrive together on one slider.
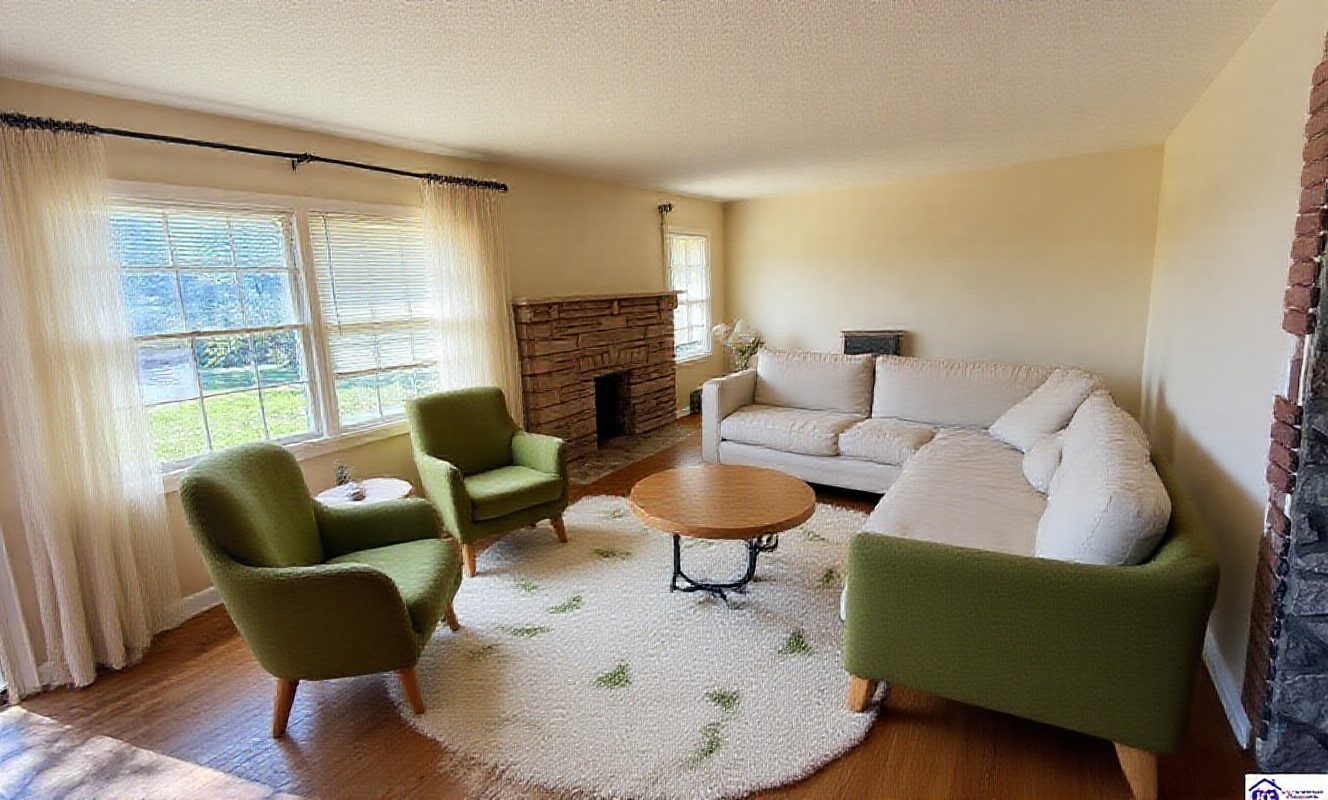 BeforeConcept
Direction: designer's pick · level: renovationDrag to compare
Client instructions
Plain EnglishTell it what the client will not change.
Every real renovation has things that are staying. The budget is on the kitchen. The floor was done last year. She loves the stone wall. He hates grey. Type it in plain English and the designer obeys it — on this render and on every one after it.
Keep it, remove it, add it. Change your mind halfway through and say so; the newer instruction wins. Ask for something the photograph cannot support and it says so in plain words instead of quietly substituting something else.
Asking again re-designs and re-renders. It does not start the job over.